As the
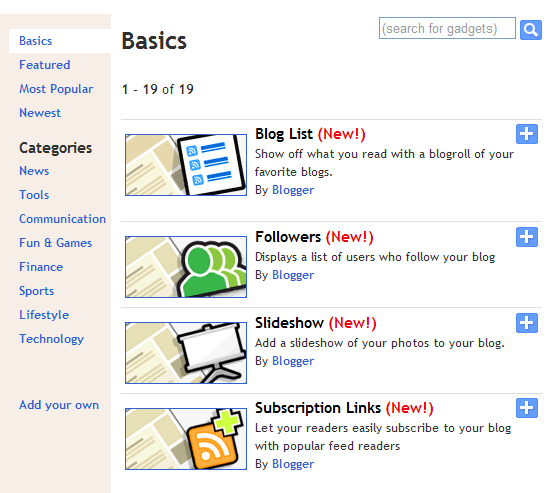
Followers Gadget has been integrated with Google Friend Connect. So now onwards you can add all the gadgets available in Google Friend Connect to your
blog very easily..
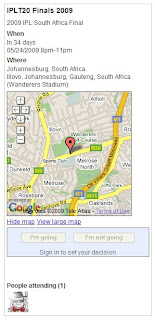
Event
Gadget is one of them. It gives information to your readers about any event you decide. The description, time, location, map is included.
Viewers can join the event and see who else has joined the event. See
picture at left. Other gadgets like Members, Comment Wall and Social Bar
gadget can also be added.
:: Follow the Steps to add the event Gadget ::
- Login at Blogger.com and check
the Remember Me box while doing
so.
- Go to Google Friend Connect. You will see all your blogs
listed in left sidebar under 'Sites'.
- Click your Blog Title and it
will expand to show submenu below it.
- Click on 'Social gadgets' link
- Click on 'Event Gadget' link.
- Under Options select and
choose the various options like Page, and fill in your Event's Title and
Description. Choose the start and end dates and the Timezone. Fill in
the Location, address and Media URL which is link of the picture or logo
of your event.
- Coose the gadget's size to fit your
sidebar or you may have to increase
blog width.
- Lastly click Generate Code button.
- Copy the code given
and paste
in a HTML gadget in your blog.
- Similarly you can
add any of the other gadgets available like Members gadget and Comment
Wall gadget. You can see these gadgets in action at top of third column
in this blog. The social Bar gadget is at the top of the blog.
the Remember Me box while doing
so.
listed in left sidebar under 'Sites'.
will expand to show submenu below it.
choose the various options like Page, and fill in your Event's Title and
Description. Choose the start and end dates and the Timezone. Fill in
the Location, address and Media URL which is link of the picture or logo
of your event.
sidebar or you may have to increase
blog width.
and paste
in a HTML gadget in your blog.
add any of the other gadgets available like Members gadget and Comment
Wall gadget. You can see these gadgets in action at top of third column
in this blog. The social Bar gadget is at the top of the blog.
:: Thanks and Enjoy Blogging ::